Baking chicken breast at 425°F is a popular method. But how long to bake chicken breast at 425°F to get it just right? The time can vary depending on a few factors, like the size of the chicken breast, whether it’s boneless or bone-in, and how thick it is.
This guide will answer all your questions about baking chicken at 425°F. We’ll go over the cook times, how to tell when it’s done, and tips to help you get the most flavorful, juicy chicken possible.
Why Bake Chicken Breast at 425°F?
Baking at 425°F is great for chicken breast for a couple of reasons. First, it’s a higher temperature that helps the chicken cook quickly, locking in the juices. Second, it allows the skin to crisp up, if you’re using bone-in, skin-on breasts. The result is a crispy, golden exterior and a juicy interior.
At this temperature, the chicken cooks fast enough to maintain moisture while still getting a good sear. If you want dinner on the table quickly, this is the perfect method.
How Long to Bake Chicken Breast at 425°F (Boneless, Skinless)?
how long to bake chicken breast at 425
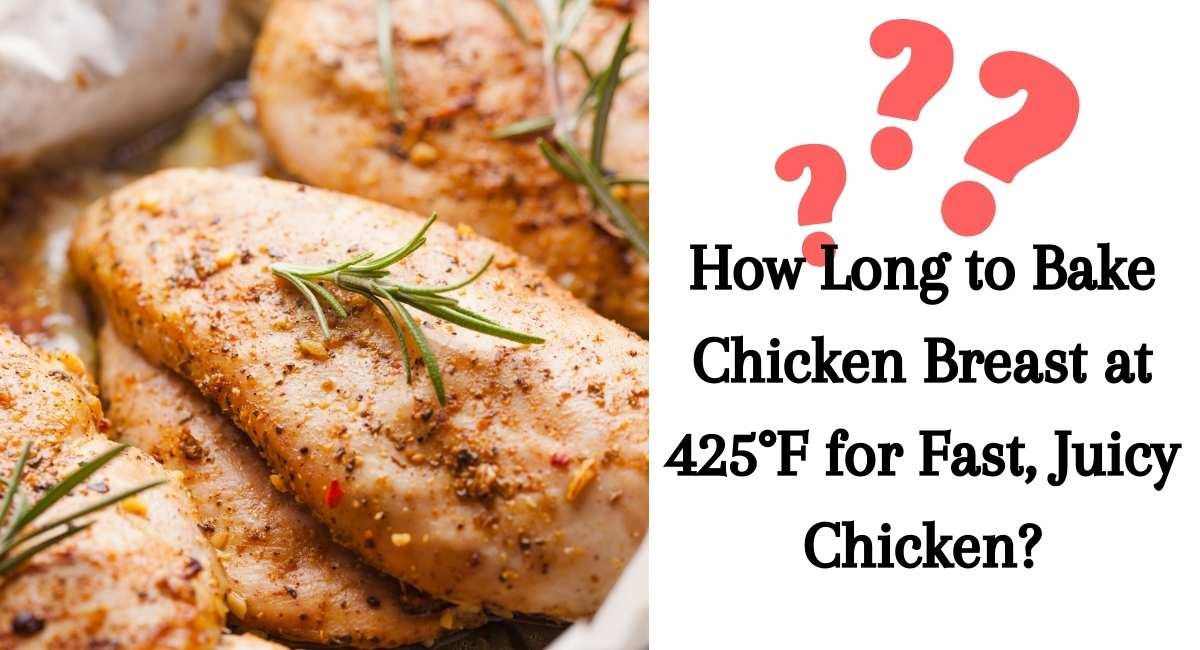
Bake boneless, skinless chicken breasts at 425°F for 20-25 minutes, and bone-in, skin-on breasts for 35-45 minutes, ensuring the internal temperature reaches 165°F for safe and juicy chicken.
If they’re on the larger side, you might need 25-30 minutes.
Here’s a breakdown:
- For average-sized boneless, skinless chicken breasts (6-8 oz): Bake for 20-25 minutes.
- For larger breasts: Bake for 25-30 minutes.
How to Bake Boneless, Skinless Chicken Breasts:
- Preheat your oven to 425°F (220°C).
- Pat the chicken breasts dry with a paper towel.
- Rub olive oil, salt, pepper, and any seasonings you prefer on both sides.
- Place the chicken on a baking sheet or in a baking dish.
- Bake for 20-25 minutes (check with a meat thermometer).
- Let the chicken rest for 5-10 minutes before serving.
Tip: Always check the internal temperature with a meat thermometer. The chicken is done when it hits 165°F (74°C). Learn moreon How to cook.
How Long to Bake Bone-In, Skin-On Chicken Breast at 425°F?
Bone-in, skin-on chicken breasts take longer to bake than boneless ones. The bone helps keep the chicken juicy but slows down the cooking time. At 425°F, bone-in breasts usually take around 35-45 minutes.
Here’s the breakdown:
- For bone-in, skin-on chicken breasts: Bake for 35-45 minutes.
How to Bake Bone-In, Skin-On Chicken Breasts:
- Preheat the oven to 425°F (220°C).
- Pat the chicken dry and season with olive oil, salt, pepper, and your favorite spices.
- Place the chicken on a baking sheet, skin side up.
- Bake for 35-45 minutes, depending on size.
- Check the internal temperature with a meat thermometer to make sure it reaches 165°F (74°C).
- Let the chicken rest for 5-10 minutes before serving.
Bone-in, skin-on chicken breasts often turn out crispier and more flavorful because of the skin.
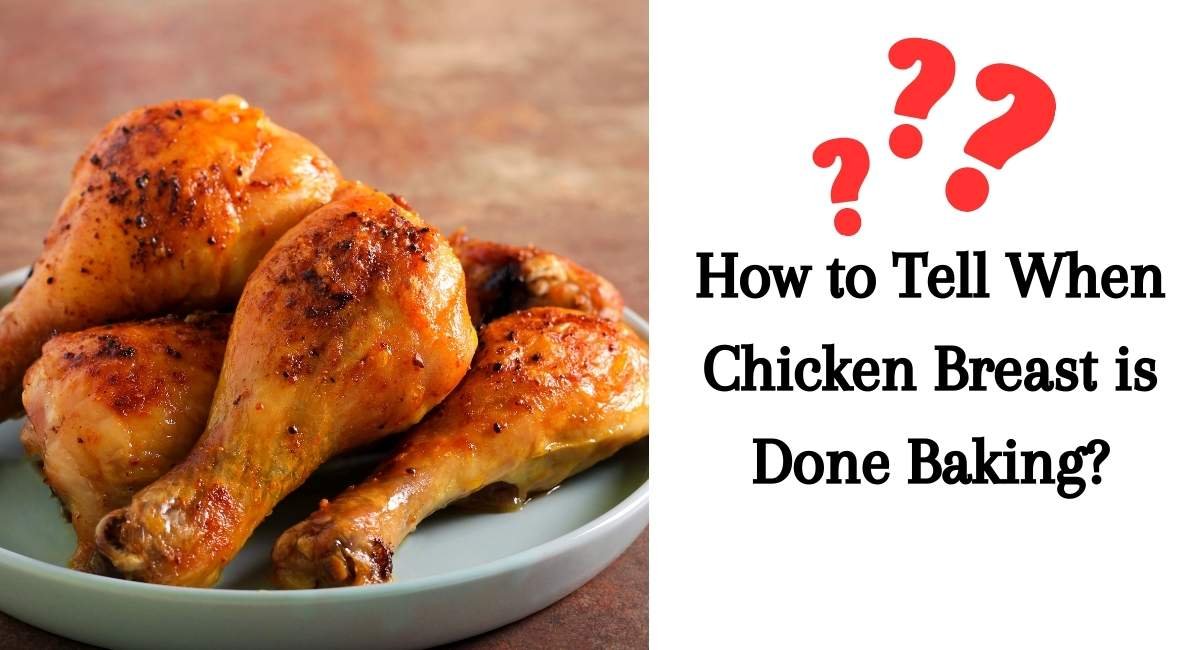
How to Tell When Chicken Breast is Done Baking?

The most accurate way to tell if chicken breast is done baking is by checking the internal temperature with a meat thermometer. Insert the thermometer into the thickest part of the chicken (without touching the bone, if you’re using bone-in chicken).
- The chicken is done when it reaches 165°F (74°C).
- The juices should run clear, not pink.
- The meat should feel firm to the touch but not hard.
Tip: If you don’t have a thermometer, you can slice into the chicken to check for any pinkness inside. However, using a thermometer is always the most reliable method.
Tips for Perfectly Baked Chicken Breast
To get the best results, follow these simple tips:
1. Pound the Chicken to Even Thickness
Chicken breasts are often thicker on one side, which can cause uneven cooking. If you pound them to an even thickness, they’ll cook more uniformly and avoid dry spots.
2. Season Well
Don’t skip on the seasoning. Simple salt and pepper are fine, but feel free to add garlic powder, paprika, thyme, or your favorite spices to make the chicken more flavorful.
3. Use Oil or Butter
Coating the chicken with a little oil or butter helps it brown and crisp up. It also locks in moisture, keeping the chicken juicy.
4. Let It Rest
After removing the chicken from the oven, let it rest for about 5-10 minutes. This helps the juices redistribute, keeping the chicken tender and juicy.
5. Try a Quick Brine (Optional)
If you have time, try brining your chicken for 30 minutes before baking. Simply mix water with salt (about 1/4 cup of salt per 4 cups of water) and soak the chicken. This helps the meat stay juicy as it cooks.
How to Keep Chicken Breast From Getting Dry
Chicken breast is a lean meat, so it can dry out quickly if overcooked. Here’s how you can keep it from drying out:
- Don’t Overcook: Always check the internal temperature. The chicken will dry out if it exceeds 165°F.
- Use a Meat Thermometer: This is the most reliable way to make sure you don’t overcook your chicken.
- Brine the Chicken: If you have the time, brining can help retain moisture.
- Bake at a Higher Heat: Baking at 425°F helps cook the chicken quickly, which helps lock in moisture.
Common Mistakes When Baking Chicken Breast
Even experienced cooks can make mistakes when baking chicken breast. Here are some common ones to watch out for:
1. Not Using a Meat Thermometer
It’s easy to think that the chicken is done just because the cooking time is up. But using a meat thermometer is the most accurate way to ensure your chicken is fully cooked without being dry.
2. Overcooking the Chicken
Overcooking can make chicken tough and dry. It’s best to start checking for doneness after about 15 minutes of baking.
3. Skipping the Resting Time
Letting the chicken rest after baking is key. If you cut into it right away, the juices will run out, and the meat will be dry.
4. Not Seasoning Enough
Chicken breasts can be bland without the right seasonings. Don’t be afraid to use herbs, spices, or marinades to make the chicken more flavorful.
How Long to Bake Chicken Breast If It’s Frozen?
If you’re cooking chicken breast straight from the freezer, it will take longer than fresh chicken. Here’s the general rule for baking frozen chicken breasts at 425°F:
- Boneless, skinless frozen chicken breasts: Bake for about 30-40 minutes.
- Bone-in, skin-on frozen chicken breasts: Bake for about 45-55 minutes.
Tip: Frozen chicken breasts should be baked from frozen (don’t thaw them first) to avoid undercooking. Be sure to check the internal temperature before serving.
Final Thought
Baking chicken breast at 425°F is a fast, easy way to get perfectly cooked chicken with a juicy interior and crispy exterior. Whether you’re baking boneless or bone-in chicken, knowing the right cook time is key to success.
For boneless, skinless chicken, bake for 20-25 minutes, and for bone-in, skin-on chicken, bake for 35-45 minutes. Always check the internal temperature to make sure it reaches 165°F, and let the chicken rest for a few minutes before serving. With these tips, you’ll be able to bake chicken breasts like a pro every time.
FAQs About how long to bake chicken breast at 425
1. Can I bake chicken breast at a lower temperature?
Yes, you can bake chicken at a lower temperature (like 350°F), but it will take longer. Boneless, skinless chicken breasts would take about 30-40 minutes at 350°F, and bone-in breasts would take 45-55 minutes.
2. Should I cover chicken breast with foil when baking?
It’s not necessary to cover the chicken, but you can if you want to keep it extra moist. Covering with foil helps trap moisture, but if you want a crispy exterior (especially for skin-on chicken), leave it uncovered.
3. Can I bake chicken breast from frozen?
Yes, you can bake frozen chicken breasts, but they will take longer. Expect around 30-40 minutes for boneless, skinless chicken, and 45-55 minutes for bone-in chicken.
4. How do I prevent chicken from drying out?
To keep chicken moist, avoid overcooking it, use a meat thermometer to check for doneness, and let it rest after baking. You can also brine the chicken beforehand or coat it with oil or butter.
5. Can I bake chicken breasts on a baking sheet?
Yes, a baking sheet works great for baking chicken breasts. Just be sure to line it with parchment paper or lightly grease it to prevent sticking.

